
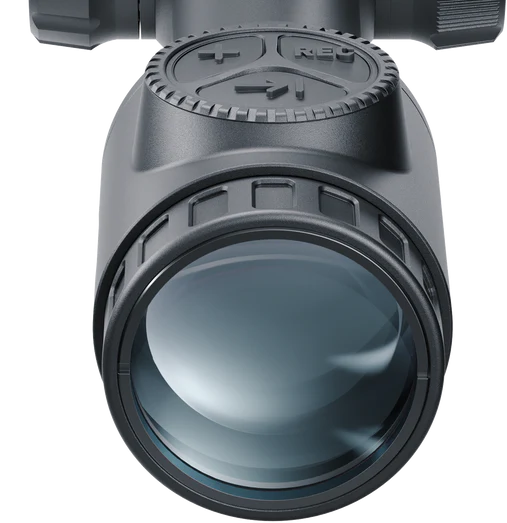
PULSAR thermal optics exhibit extremely high quality and are trusted by outdoorsmen, search and rescue teams and law enforcement personnel around the world. They offer a wide range of features and functionality and remain operational even under extreme conditions.
However, given the complexity of these thermal optics, you might encounter circumstances in which you need a little help troubleshooting basic errors and malfunctions. These are among the most common. Start here and if you need further assistance contact us or PULSAR directly.
General Malfunction
If your PULSAR thermal optic is experiencing a general malfunction and is not functioning as intended, the most basic fix is to reset the optic by holding down the ON/OFF button for 10 seconds. If that does not address the situation, see if one of the following conditions applies and proceed accordingly.
The Image Is Not Clear
If the image is blurry, specifically if there are vertical stripes manifesting on the display or the background is uneven or glitchy, the problem is likely that the optic needs to be calibrated. Your PULSAR thermal optic’s owner’s manual has a section on “microbolometer calibration.” Please refer to this section and adjust accordingly.
Moreover, if your optic displays a black screen after calibration, simply recalibrate and the issue should remedy itself.
Ghost Images Appear on the Display
A ghost image refers to the outline or silhouette of another image that is not currently present in the field of view before the sensor. Often a ghost image will be of something that the sensor detected previously, but which manifests after the display should have refreshed. If a ghost image manifests, a likely cause is that you performed calibration with the lens cover open, which caused the sensor to pick up an artifact when it should have been covered. Close the lens cover and recalibrate the device; if the issue is that which was described, the display should recover after recalibration and there should be no ghost images. Also, check the calibration settings inside the scope to make sure it is still in “Auto” mode. You can refer to your owners manual on how to do this. If the ghosting continues you may have a stuck shutter and may need to be serviced by the manufacturer, in this case please contact the manufacturer’s customer support line.
Display Is Too Dark to See Clearly
If the display is not bright enough for you to see clearly, there are two likely causes: either the display brightness setting is too low or else the contrast is too low. Both of these can be adjusted through your PULSAR thermal optic’s quick menu.
You Can’t See the Image of the Target
If you can’t see the image of the target being observed the most likely cause is that there is glass between the sensor and the target. Remove the glass from in front of the sensor or adjust your position so that you have a clear, uninterrupted view of the target and that should correct the issue.
Note: Thermal optics are, as a general rule, not intended to detect targets through glass. This is because glass blocks the infrared radiation to which thermal optics are sensitive. This issue is not just one for PULSAR thermal optics, but for other thermal monoculars, binoculars, scopes and other optics.
Rangefinder Malfunction
There are two main causes of a malfunctioning laser rangefinder (LRF). One is that there is something blocking the sensor, most commonly the operator’s fingers or hands. Make sure your hands are not in the way and then try again.
Another common cause of laser rangefinder malfunction is failing to hold the optic steady. Make sure your PULSAR thermal optic is on a stable surface or tripod for stability and try to use the rangefinder again. Rain, fog and extreme humidity can reduce the effective range or make it not range at all as water molecules in the air can split / interfere with the laser beam. Make sure the LRF is in the correct Mode, there are 2 modes Continuous (CONT) and Single (SGL). Continuous mode constantly measures distance as you scan around. Single mode requires you to push a button to get a range.
Poor Image Quality
The main cause of poor image quality is some type of adverse atmospheric condition. Common causes are high humidity, fog, and precipitation, mainly in the form of rain or snow. This is more of a problem for thermal optics with sensors that have a higher NETD rating (which means they are less sensitive to temperature differentials), and unfortunately, there is no quick fix for this. If your image seems grainy check the sensitivity settings and adjust down if grainy and up if you prefer a sharper image.
Device Will Not Turn on
Now get ready for the easiest fix in the book. If your PULSAR thermal optic will not turn on, the most likely cause is a drained battery. Recharge your thermal optic and then try to switch it back on once more.
If it still won’t turn on, you may be working with a battery that has lost its charge-holding capacity, in which case the battery will need to be replaced. There are many reasons that a battery will lose its ability to hold a charge, the most common of which are exposure to extreme temperatures and leaving a battery in a discharged state for too long especially in freezing temperatures. If you are having an issue getting the internal battery to take a charge use the General Malfunction section 1 of this article and follow the procedure and then reconnect the charger to the scope. If still having issues please make sure you are using the oem USB cable and USB wall adapter. You can try switching out the cable and wall adapter just be aware not all cable and wall adaptors have the same specifications for charging. Last but not least make sure your scope is not in Standby Mode, to check this simply tap any other button and see if the screen reappears.
Shop PULSAR Thermal Optics and More
Hopefully this quick guide helped you get around some of the issues you’ve experienced with your thermal optics, PULSAR or otherwise. In the event you are here for a new PULSAR thermal scope, check out our full collection and get in touch with us directly if you need help.
